- Lightroom Presets
- Lightroom Brushes
- Mobile Presets
-
Photoshop
-
Learn
-
Support
-
Install
- Blog

Photographers are often striving for a vintage or retro look in their photos, and even though there are endless ways of achieving a vintage effect, there are a couple of important characteristics to keep in mind.
First of all, the color tones in a vintage photo often lean towards either a blue or a red hue, or a cross-processed look. Vintage photos also have an element of noise or grain that can be achieved through textures, and also a certain amount of vignetting around the edges of the photo. In this tutorial, we will focus on adjusting color tones and adding vignettes in Photoshop.
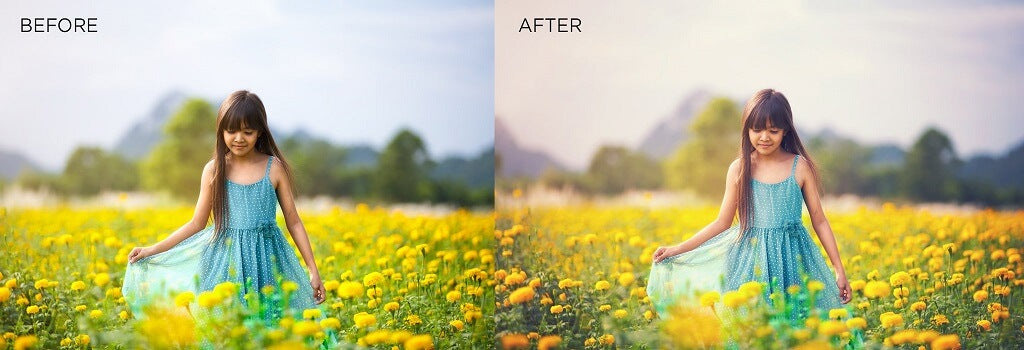
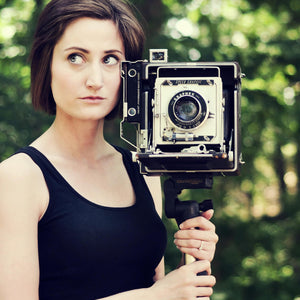
The photo below is the result of a few simple steps, including adjusting the color curves, adding two vignettes, as well as adding a color fill and gradient map. Lets walk through this step-by-step.
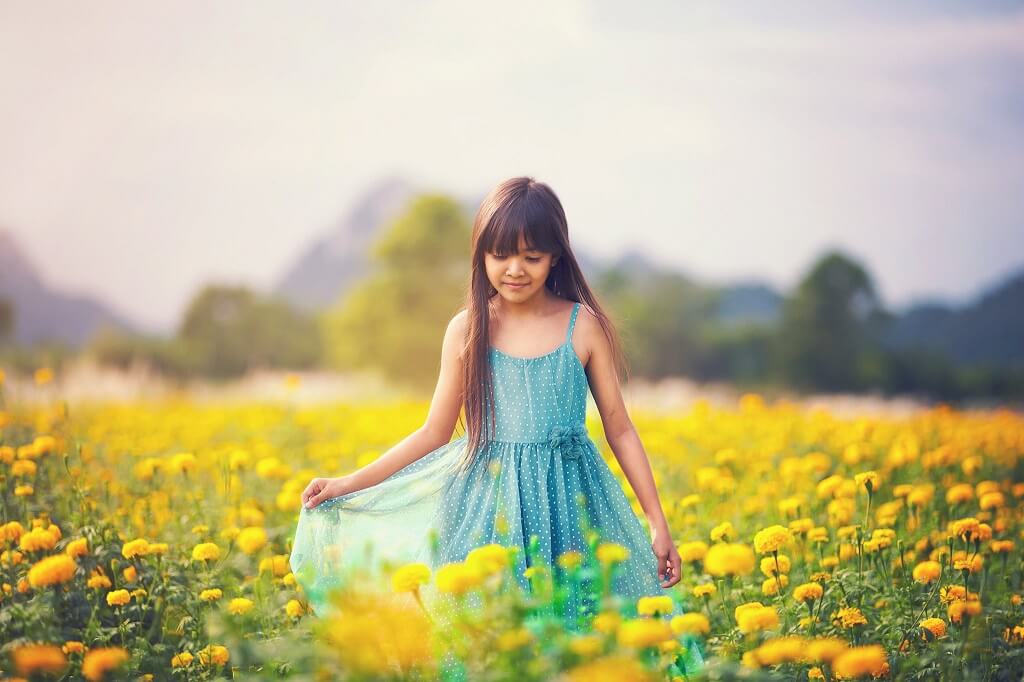
Open your photo in Photoshop and make sure your foreground color is set to white in your side tool bar. Then, select Layers>New Fill Layer>Gradient. Press OK.

The above dialogue box shows the settings you'll want to choose. First, we are going to add a white gradient to brighten the center of the photo. Set your gradient style to Radial, and the scale to 150% so it will cover the majority of the photo, except the outer edges. Press OK. On your Layers Panel (right side of screen), set the blending mode to Overlay, and reduce the opacity. The opacity needed will depend on your photo and style, but for this example, I set it to 35%.
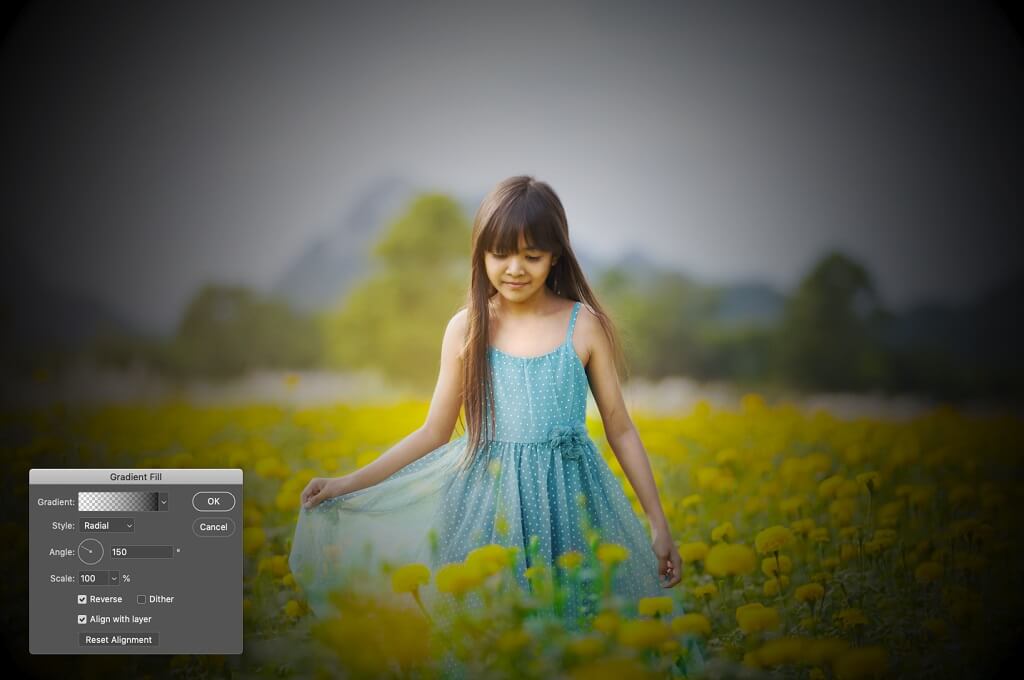
Now, switch your foreground color to black, and repeat the same steps as above by creating a new fill layer, but this time, check the box that says Reverse, and leave the Scale at 100 and adjust the Angle to 150 degrees. This will darken the outer edges of the photo to create a vignette in Photoshop. Press OK.
In the Layers Palette, set the blending mode to Overlay, and reduce the opacity to the desired effect. You want to strive for a noticeable darkening on the edges of the photo, but you also do not want to create a “Tunnel” look. For this example, I set the Opacity to 29%.
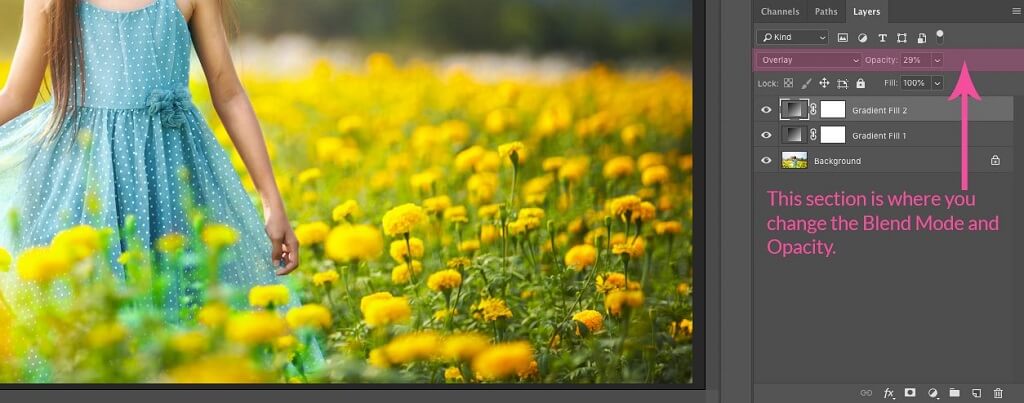
As you can see here, there should be three layers – your Background image, then your two gradient layers.
Now, let’s adjust the color curves. You can easily do this by selecting Layer, New Adjustment Layer, Curves. Click OK.
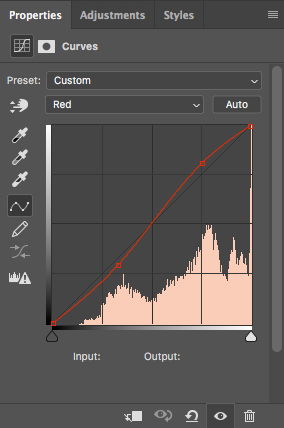
Use the drop down menu to adjust each color channel. You will want to use a slight S-curve on the Red and Green channels. You can create the S-curve by clicking and dragging a point somewhere on the right side of the curve slightly above the diagonal line. You will click and drag a point on the left side of the curve slightly below the diagonal line.
Leave the blue channel on a diagonal, but pulling down and up on the outer edges (see figures below).
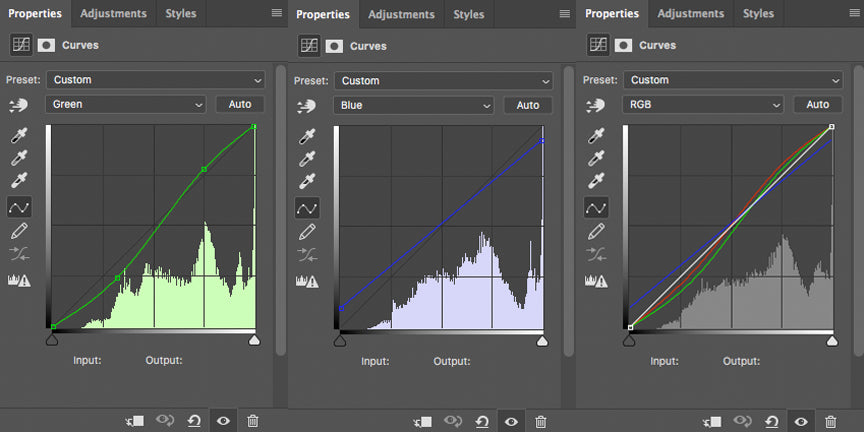
The above images are the are the histograms of all three color channels. Play around with various curves until the results fit your taste. You have the option to reduce the Opacity of this layer. For this image, I adjusted the Opacity to 50%.
You can also add a Fill Layer of a solid color in order to give an over-all color tint to the photo. Blue and red are always popular for vintage photos, so let’s use blue.
Select Layer>New Fill Layer>Solid Color.
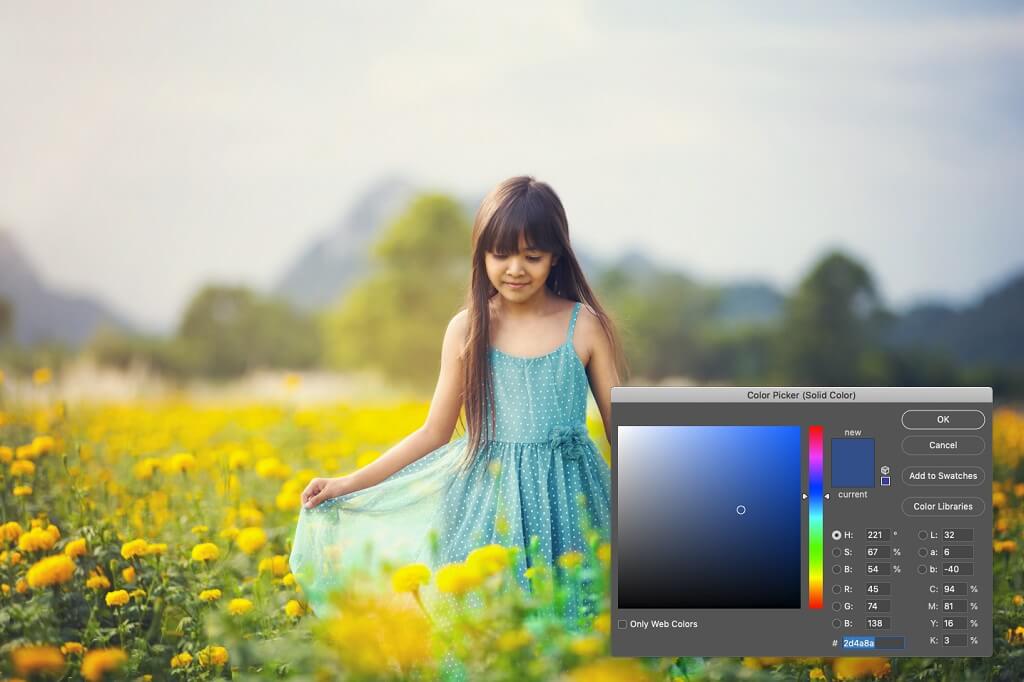
Select a dark blue color, then press OK.
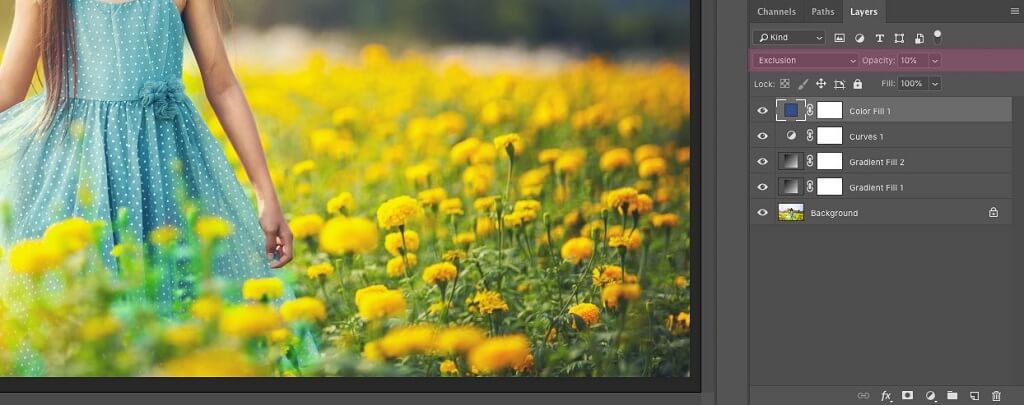
In your Layers Palette, set the blending mode to Exclusion, and reduce the opacity until the tint is more subtle. For this shot, I reduced it to 10%. As with each step, adjust the opacity to taste. Somewhere between 3% and 20% will be a good starting point.
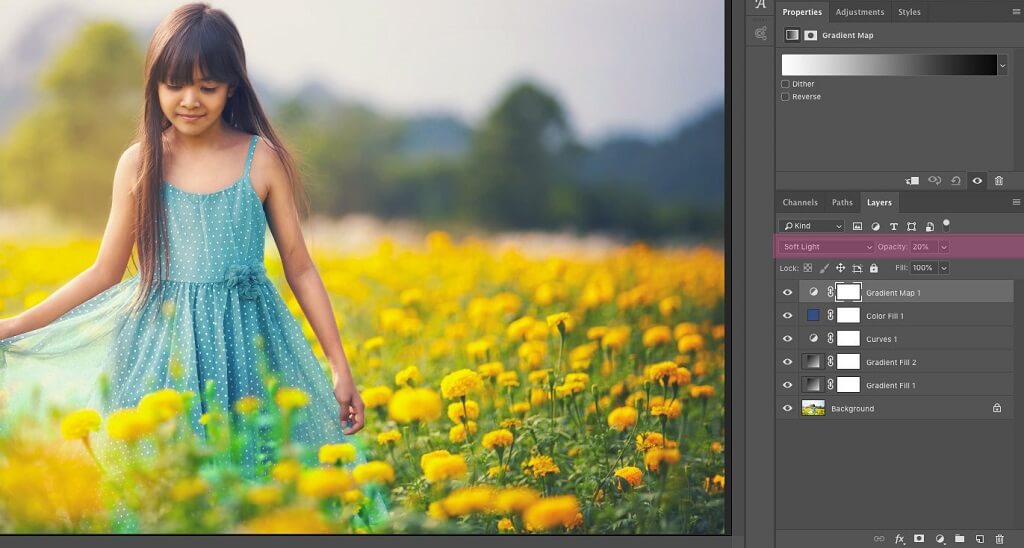
One final step that we will discuss is a Gradient Map. Gradient Maps will slightly mute the tones of your photo, and will also add more contrast, which are both elements that are characteristic of a vintage photo effect.
Select Layer>New Adjustment Layer>Gradient Map. Press OK. Your image will immediately turn a strange black and white. Change the Blend Mode to Soft Light and reduce the Opacity of this layer until it looks good to you. For this image, I adjusted my opacity to 20%.
These are four simple steps will help you achieve a fantastic vintage photo effect. But be sure to play around with different color fills, blending modes and opacities, because they will vary from photo to photo, and also depending on the look you have in mind.
Do you have any questions or comments about creating a Vintage Photo Effect in Photoshop? Leave us a comment below - we would LOVE to hear from you! And PLEASE SHARE our tutorial using the social sharing buttons (we really appreciate it)!


Comments